Showing posts with label Halloween. Show all posts

Monday, October 24, 2011

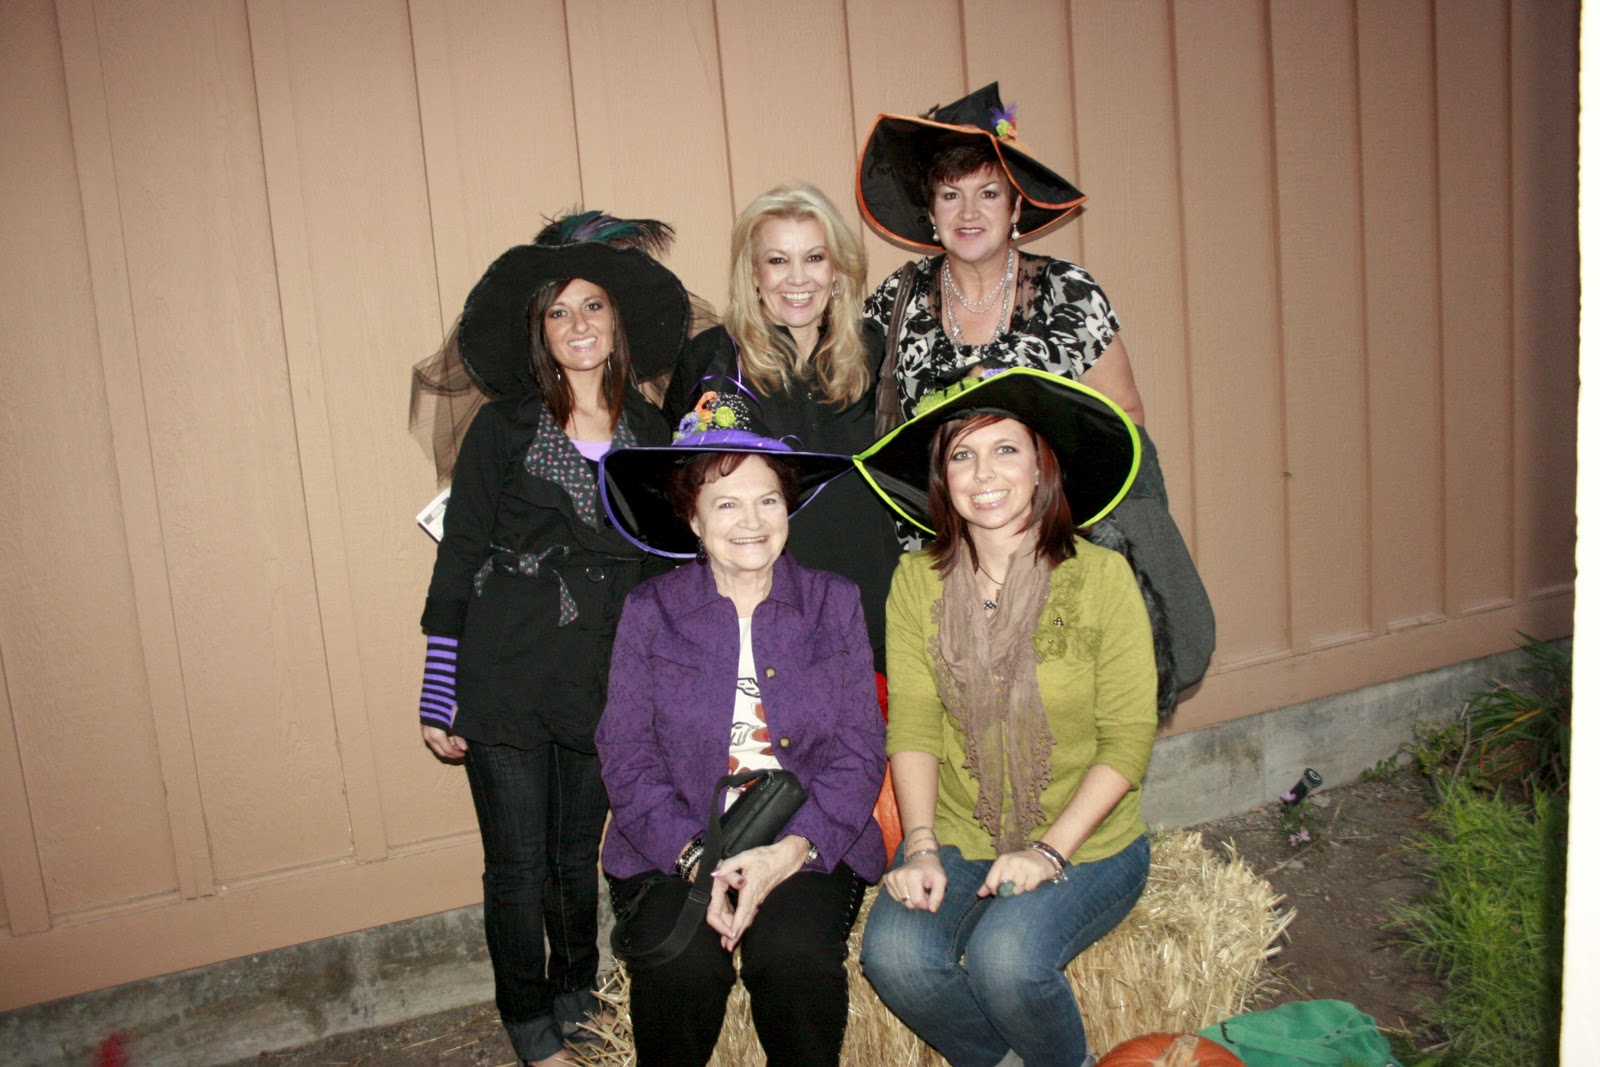
Witches Night Out-Gardner Village

The ladies went toRed Lobster, Witches night out, & Yogurt land for grandmas Birthday.
It was loads of fun!


This owl was sooo cool. 

It was a blast, glad we could get together. 
Love you Grandma HAPPY BIRTHDAY!

Thursday, October 13, 2011

Ghouls night out-Craft Party


So my Halloween Party came & went. There was a ton of preparation for it..
It turned out good though. I had a blast. Thanks to the ladies who attended. 

The Invites
I just bought cheap ones & added paper on the inside.
Inside there was a fall candle, ring pop, rings, erasers, sucker, tattoo, & my homemade Halloween soap.I got all the stuff to make the soap at Hobby Lobby, it was way easy. The skull & cross bone mold were suppose to be ice trays that I bought at the dollar store.
These were suppose to be return address labels, I made them into stickers for my party favors, 140 of them for $4 (with shipping) on VistaPrint
These would be great to make as christmas tags.
Some of the decor.
My diy cake stands coming to use.
 Added fun labels to soda, dyed halloween shaped ice, made carmel apples with white chocolate,  cinnamon& sugar, & Monster munch. It's sooo good here is the recipe.


Monster Munch {Halloween Popcorn Mix}

Recipe by Our Best Bites

1 package Almond Bark (1 lb)
12 C popped popcorn (about 1/2 C kernals)
1 C candy corn
1 C dry roasted, salted peanuts
1/2 C Reeces Pieces

Pop popcorn and place in a large bowl. Much larger than you think you need. The largest you have. It will make mixing easier! Pour peanuts, candy corn, and reeces pieces on top.


Take a large knife and break up almond bark. Melt according to package directions. I just chop it up a little and microwave it in intervals until smooth and melted.

Pour over popcorn mixture.


Stir until everything is well coated and then spread out onto waxed paper, parchment, or foil. Let sit until completely dry and then break up into clumps.

See? Easy :)
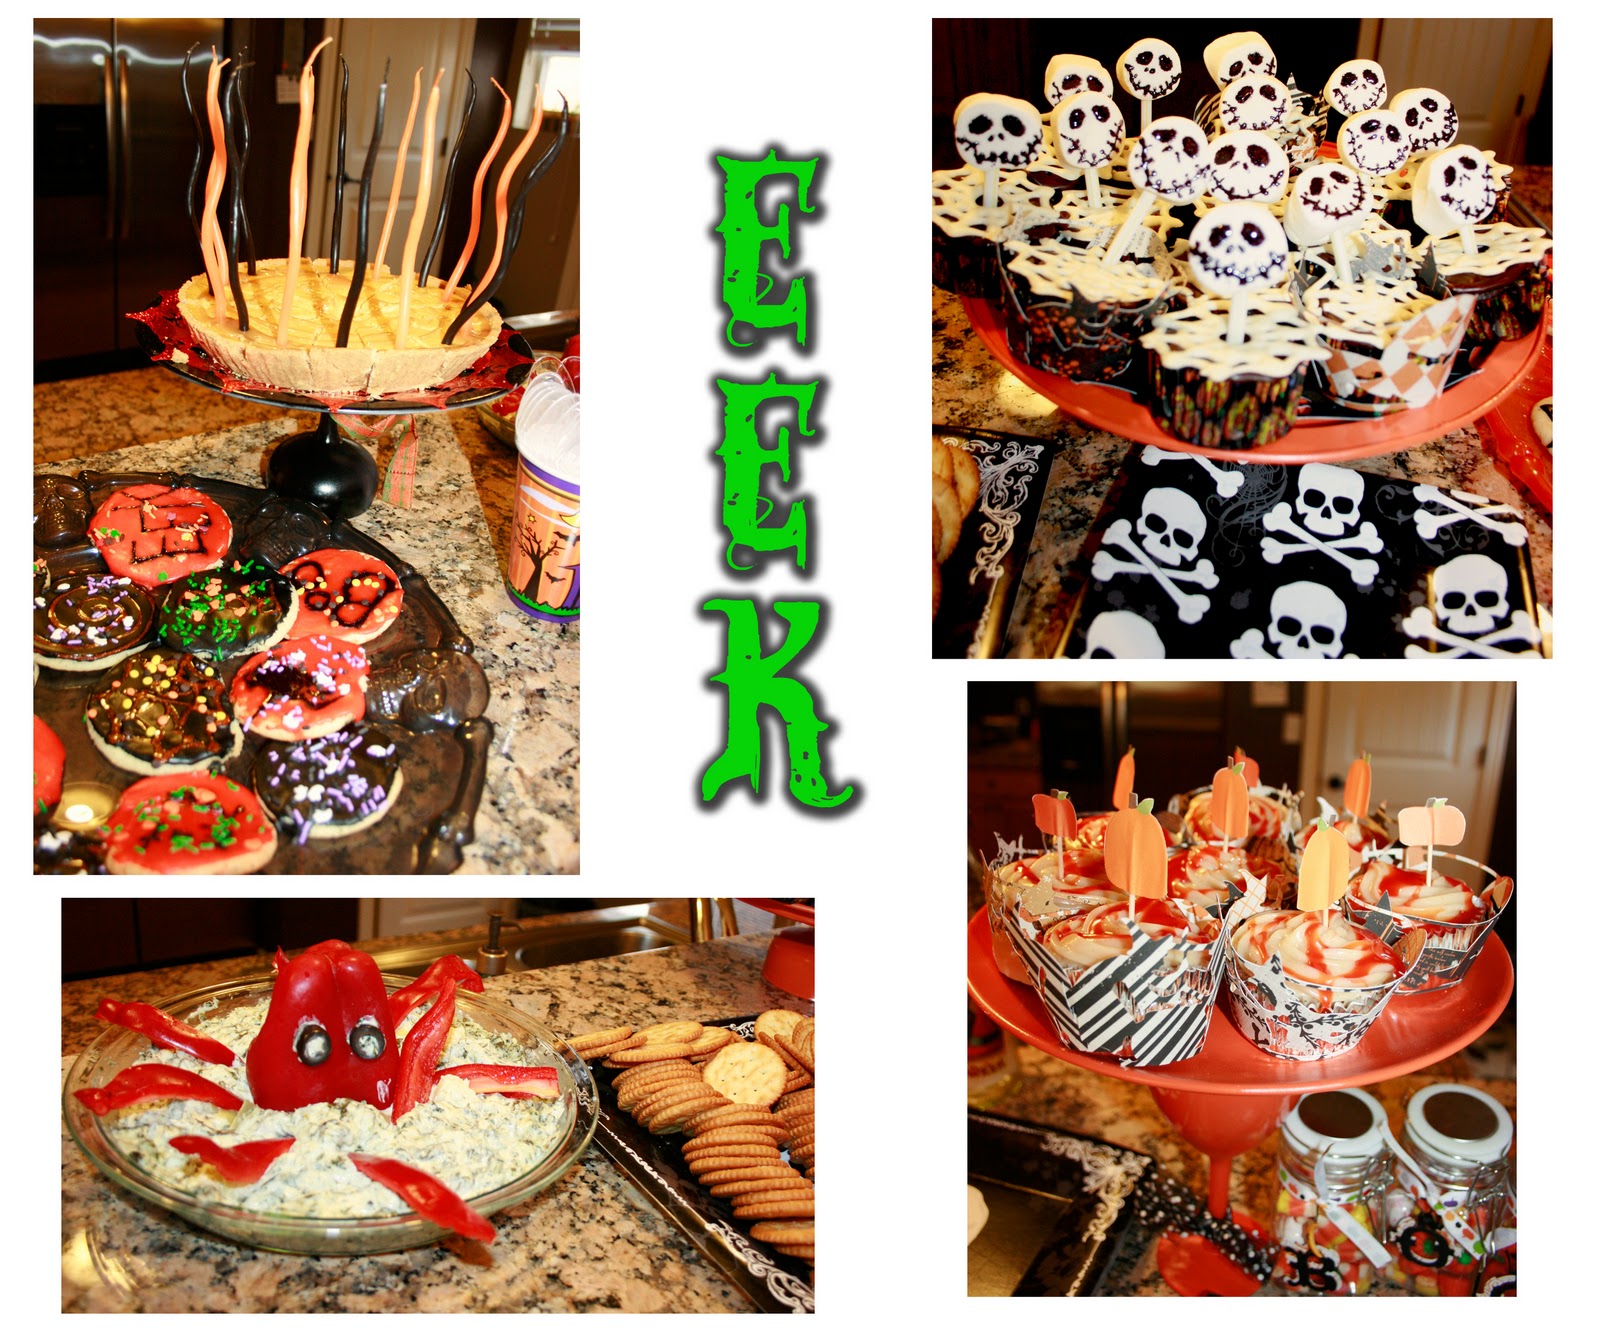
Double layer Pumpkin Cheesecake above Left (recipe found on Allrecipes.com). 
Sooo EASY & so good. I will be making this for Thanksgiving too. 

Ingredients

  • 2 (8 ounce) packages cream cheese, softened
  • 1/2 cup white sugar
  • 1/2 teaspoon vanilla extract
  • 2 eggs
  • 1 (9 inch) prepared graham cracker crust
  • 1/2 cup pumpkin puree
  • 1/2 teaspoon ground cinnamon
  • 1 pinch ground cloves
  • 1 pinch ground nutmeg
  • 1/2 cup frozen whipped topping, thawed


Directions

  1. Preheat oven to 325 degrees F (165 degrees C).
  2. In a large bowl, combine cream cheese, sugar and vanilla. Beat until smooth. Blend in eggs one at a time. Remove 1 cup of batter and spread into bottom of crust; set aside.
  3. Add pumpkin, cinnamon, cloves and nutmeg to the remaining batter and stir gently until well blended. Carefully spread over the batter in the crust.
  4. Bake in preheated oven for 35 to 40 minutes, or until center is almost set. Allow to cool, then refrigerate for 3 hours or overnight. Cover with whipped topping before serving.


Above right Chocolate coconut cupcakes.

I just use a basic chocolate cake recipe & then add coconut creamer instead of milk. 
Bottom right Pumpkin Spice Cupcakes(recipe from allrecipes.com)

Ingredients

  • 2 1/4 cups all-purpose flour
  • 1 teaspoon ground cinnamon
  • 1/2 teaspoon ground nutmeg
  • 1/2 teaspoon ground ginger
  • 1/2 teaspoon ground cloves
  • 1/2 teaspoon ground allspice
  • 1/2 teaspoon salt
  • 1 tablespoon baking powder
  • 1/2 teaspoon baking soda
  • 1/2 cup butter, softened
  • 1 cup white sugar
  • 1/3 cup brown sugar
  • 2 eggs, room temperature
  • 3/4 cup milk
  • 1 cup pumpkin puree
  •  
  • Cinnamon Cream Cheese Frosting
  • 1 (8 ounce) package cream cheese, softened
  • 1/4 cup butter, softened
  • 3 cups confectioners' sugar
  • 1 teaspoon vanilla extract
  • 1 teaspoon ground cinnamon
  • Directions
Preheat an oven to 375 degrees F (190 degrees C). Grease 24 muffin cups, or line with paper muffin liners. Sift together the flour, 1 teaspoon cinnamon, nutmeg, ginger, clove, allspice, salt, baking powder, and baking soda; set aside.
  1. Beat 1/2 cup of butter, the white sugar, and brown sugar with an electric mixer in a large bowl until light and fluffy. The mixture should be noticeably lighter in color. Add the room-temperature eggs one at a time, allowing each egg to blend into the butter mixture before adding the next. Stir in the milk and pumpkin puree after the last egg. Stir in the flour mixture, mixing until just incorporated. Pour the batter into the prepared muffin cups.
  2. Bake in the preheated oven until golden and the tops spring back when lightly pressed, about 25 minutes. Cool in the pans for 5 minutes before removing to cool completely on a wire rack.
  3. While the cupcakes are cooling, make the frosting by beating the cream cheese and 1/4 butter with an electric mixer in a bowl until smooth. Beat in the confectioners' sugar a little at a time until incorporated. Add the vanilla extract and 1 teaspoon ground cinnamon; beat until fluffy. Once the cupcakes are cool, frost with the cream cheese icing. I added carmel dyed orange on top.

 Painted pumpkins & mod podged some images on some.

The crafts we made!


Book pumpkins how to here.
Bottom left is mason jars mod podged with Halloween tissue paper, then I used my Cricut to add Halloween images, except for Frankie, I cut him by hand. Then add a battery powered tea light, ribbon & walla. 


ENJOY 
AND HAPPY HALLOWEEN

Sunday, September 11, 2011

DIY Up-cycled cake stands & other ways to spruce up your halloween party


 HAPPY WAY EARLY HALLOWEEN!

So I am having a ghouls night out early October. It is going to be a fabulous  Halloween craft party, I have been having a ton of fun getting ready, here are a couple of easy things you can make for your Halloween party!
So these cake/treat stands were so easy to make & cheap too, as you probably know cake stands can be way pricey. 
Here is what you will need-
Old dishes 
Primer
Spray Paint(in the colors you desire)
Waterproof Adhesive(I used Duco Cement, you need something that can be used on glass)
I bought all of these dishes at my local thrift store & the lovely jar below for $6 amazing right :)


I didn't paint this, I dig it just the way it is:)
Spray paints $3.99 each at local Hardware store,  Duco Cement $2.00 at dollar store
So it cost me around $20 to make 5 cake stands. That is great right!!!

First set up an area in your fabulous dirt backyard using a garden hose a
& stakes to hold the garbage bags down. I like to keep it classy.
Then spray the  primer your dishes, wait to dry & prime other side.

After that dries separate items & start painting in desired colors.
Let them dry, flip & paint again.

After all the paint dries place a bead of cement around rim of glass & place in middle of plate or tray. 
Let them dry for at least an hour.

Then walla, you have fabulous party cake stands.

Please remember to place paper, wax paper, or doilies between food & spray painted items.

Here are a few other fun easy Halloween decorations.

Decoration or Gift Jars
Just save any old jars(in this case a spaghetti sauce jar & bullion cube jar) I printed off a bunch of vintage Halloween pictures from the internet. Cut them out, mod podge on jar, paint, or cover lid with material, add ribbon, fill with Halloween candy. :)


To make the wreath from above, just cover a foam wreath with yarn, cut out diamonds on felt, glue, & cover with black yarn going across them. I want to make one with white yarn in the background. Candy Cornish. 


Boo! hanging til-like decoration


There are many variations you could do on this, EEK!, Trick or Treat., you get it. 
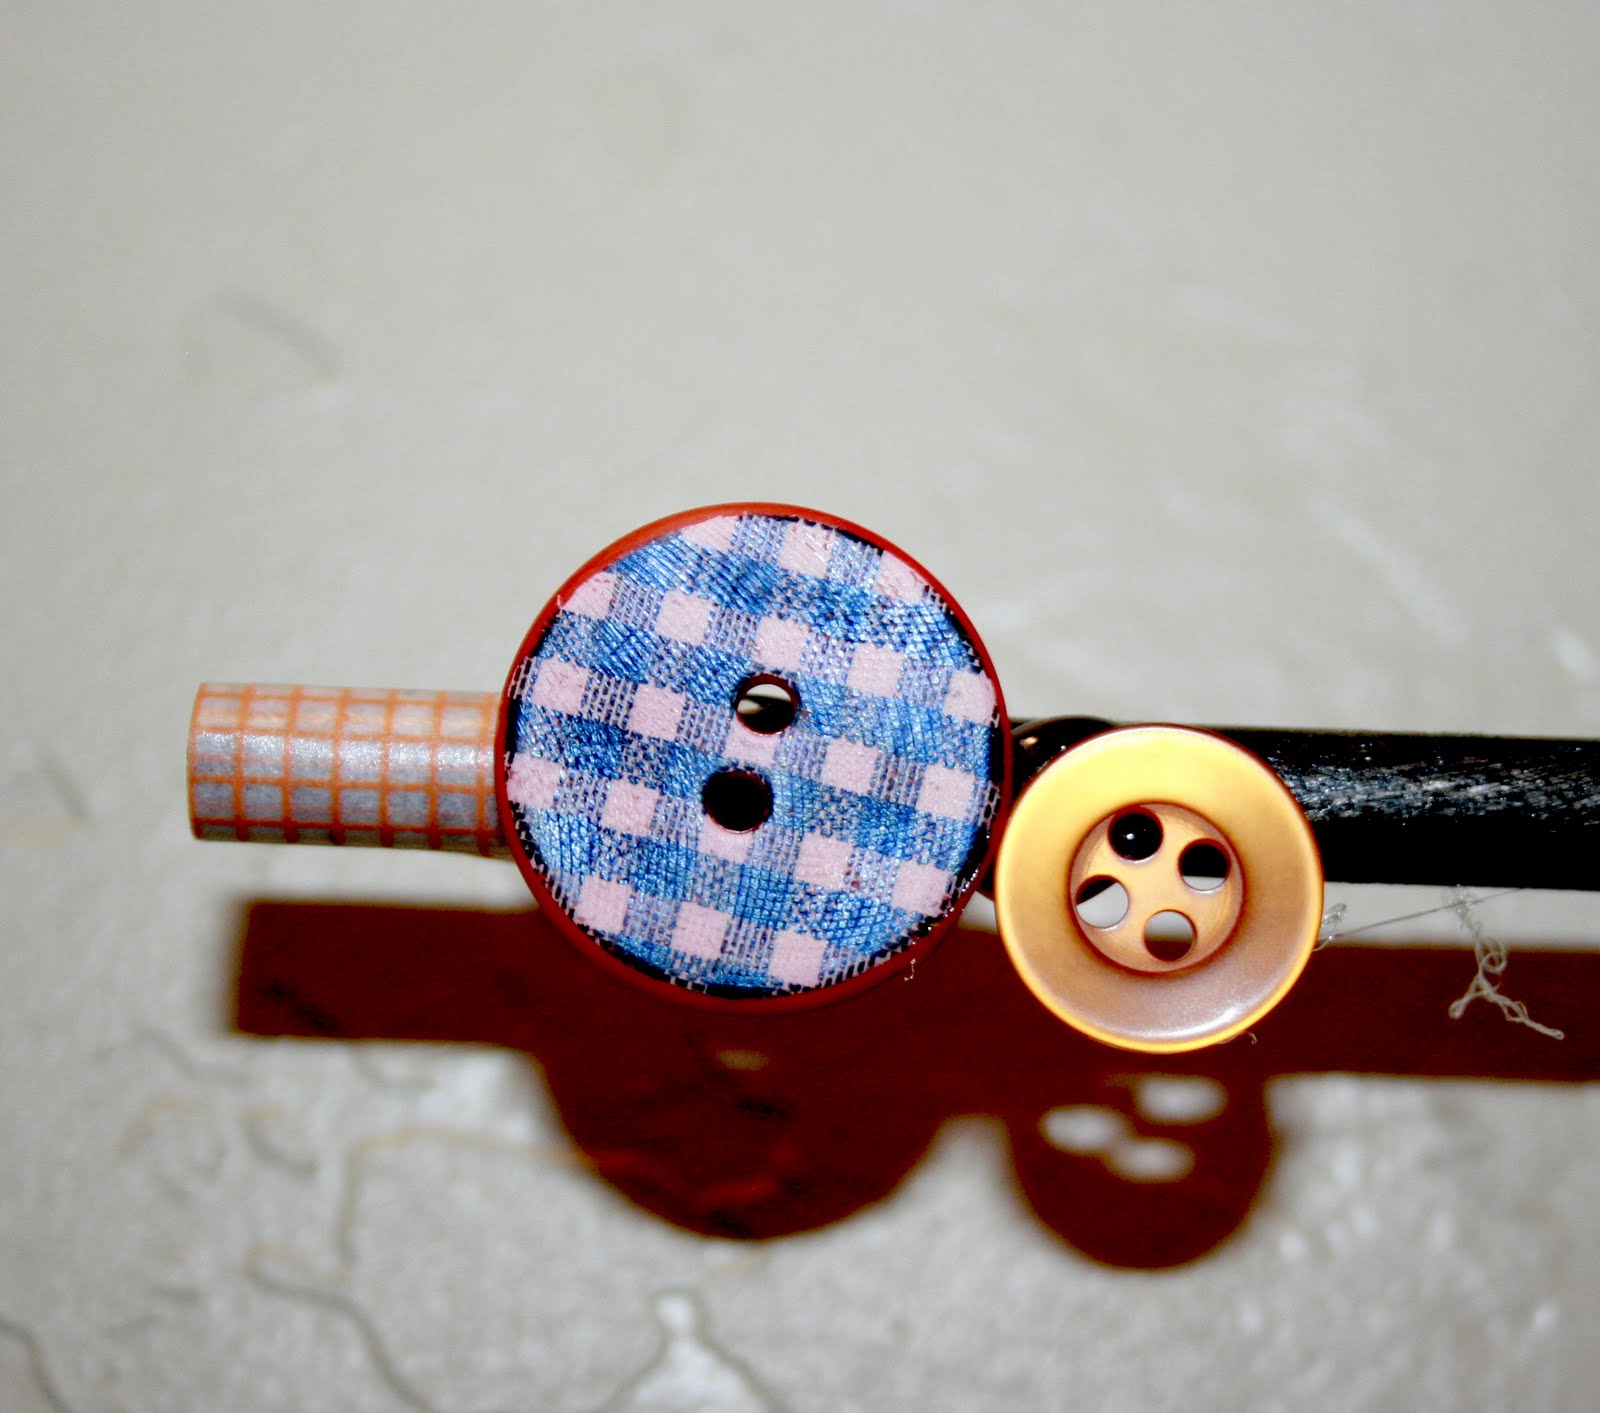
I used a Dowel for the top witch I painted black, & hot glued some buttons on the ends, I used cardboard instead of tiles. I just cut out the size I wanted, & used Elmer's glue to glue Halloween paper on. Then I  added Headstones, Boo!(I used Happy Hauntings Cricut Cartridge) letters, then I tied Hemp cord to dowel, witch I had glued with hot glue on the back of the cardboard ribbon & buttons. Amazingly I already had all this stuff so it cost me nothing, but it would be super cheap to make. I buy almost all my buttons at Buttons Galore and More. They have great prices & a bunch of sales, & that's where I got my Halloween buttons. 


These jars were $1 at the dollar store, I just filled with candy added ribbon & letters. :)


HAVE FUN & IF YOU MAKE ANY OF THIS OR OTHER CUTE HALLOWEEN STUFF PLEASE SHARE!
Once my party is here I will be sharing a ton more of fun Halloween stuff!