Wednesday, November 30, 2011

Holiday madness.

I haven't posted in a bit, I've been keeping busy. I will be posting from my phone during the holidays, if at all. You will most likely get mash up posts like this! Hopefully they won't be too horrible. So I've been so busy, between having last minute thanksgiving at my house, having another thanksgiving with the Nielson's (both were fabulous), helping Garrett with his sewing for school, trying to shop, craft/decorate for Christmas. You get it, I'm sure everyone else is feeling the same. Here are some mash up pics!
Made a new tradition with "our book of thanks" we will be writing in it every year. Reading them can bring on some tears, but good ones. There is my phone case I stitched, but kinda gave up on.


Rolled paper Christmas tree, a thing that didn't turn out so well, my wine bottles with battery powered light & my handsome dog

My awesome REAL garland (bought at SAMs club), it smells delightful. The amazing Mr. Nielson hung it for me.
Our Christmas tree, we had a family night & decorated it together (Mystro helped a ton). Then a couple of door decorations I made. :)

Tomorrow I'm going to a book signing! I'm pretty excited, the Author is Christopher Paolini - he wrote the "Inheritance Cycle" the Eragon books. They are sooo good, trust me people, don't trust that dreadful movie.
Here is my cute book bag I made for the event. The quote is from Jeod in the first book. :) I'm excited, wish me luck!


Friday, November 4, 2011

A fun birthday gift!

Covered a box in paper, put that shredded paper stuff inside. Decorated front " 40 sucks, have a jolly birthday" Then it has 40 suckers & some jolly ranchers. :)

Christmas frame for your door.

Thrift store frame painted.
You can't see it on top but there is a bunch of painted snow. To make snow mix equal parts Elmer's glue & white shaving cream. I painted over it with glitter when it was dry. I bought all the ornaments at the dollar store & hung with ribbon. It was a very cheap craft. ENJOY!

Tuesday, October 25, 2011

The AMAZING I don't take up space Spice Rack

So I saw something similar to this a bit ago online somewhere & have been dying to make it. They used a piece of sheet metal on their wall instead, but I didn't have the room for that. So I ordered the containers here, SUPER CHEAP & FAST. When they arrived today I glued magnets on the back of all the containers, (I bought 50 at Walmart for cheap, but you can buy them at the same online site as the jars here) I typed out my spice names, printed them, had them laminated, cut them out & glued them to the front of the containers. Then I went searching at my local hardware store for something they would stick to, that would work for my kitchen. I found a long piece of metal for $5.99. I don't even know what it was called or I would tell you. Just take a magnet with you, & if it sticks & will work for you get it!
Then when Mr. Nielson got home from work he drilled it into the wall for me & WALLA!
I LOVE IT SO MUCH & NOW I CAN FIND WHAT I NEED!


I made this today too, burlap, old window frame, paint, & leaves spray painted with a coat of clear.
These are some of my favorite lyrics from the amazing Regina Spektor!


Monday, October 24, 2011

Witches Night Out-Gardner Village

The ladies went toRed Lobster, Witches night out, & Yogurt land for grandmas Birthday.
It was loads of fun!


This owl was sooo cool. 

It was a blast, glad we could get together. 
Love you Grandma HAPPY BIRTHDAY!

Thursday, October 13, 2011

Ghouls night out-Craft Party


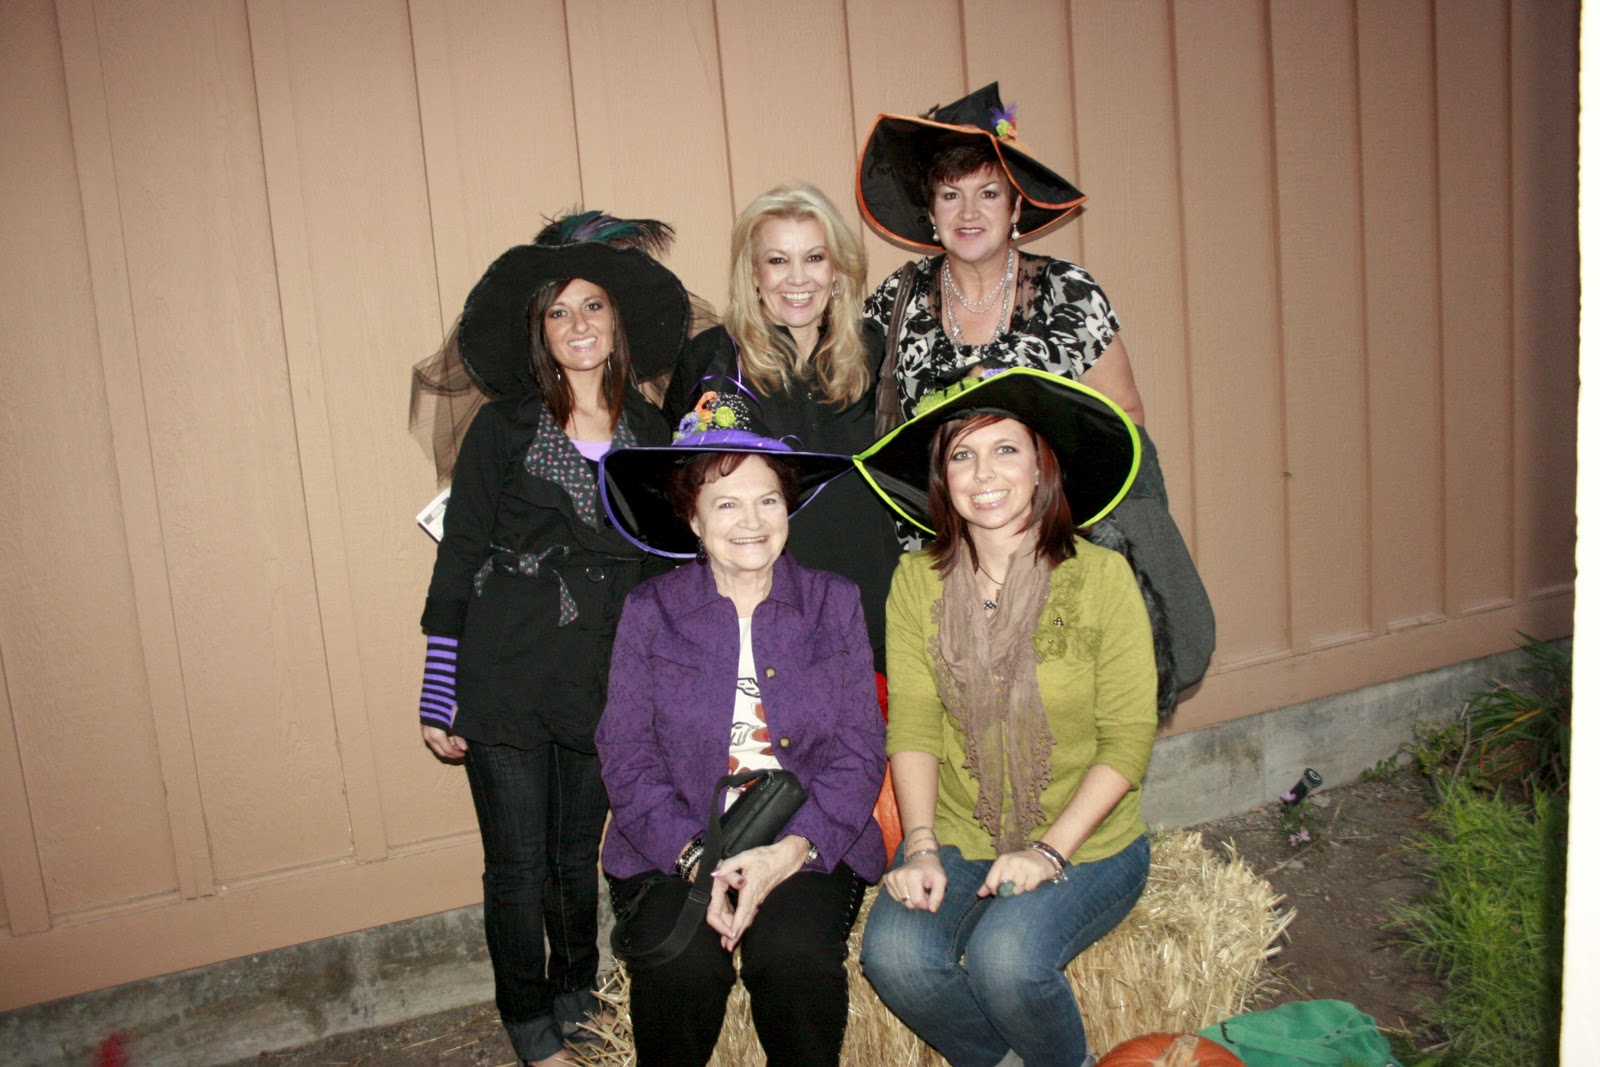
So my Halloween Party came & went. There was a ton of preparation for it..
It turned out good though. I had a blast. Thanks to the ladies who attended. 

The Invites
I just bought cheap ones & added paper on the inside.
Inside there was a fall candle, ring pop, rings, erasers, sucker, tattoo, & my homemade Halloween soap.I got all the stuff to make the soap at Hobby Lobby, it was way easy. The skull & cross bone mold were suppose to be ice trays that I bought at the dollar store.
These were suppose to be return address labels, I made them into stickers for my party favors, 140 of them for $4 (with shipping) on VistaPrint
These would be great to make as christmas tags.
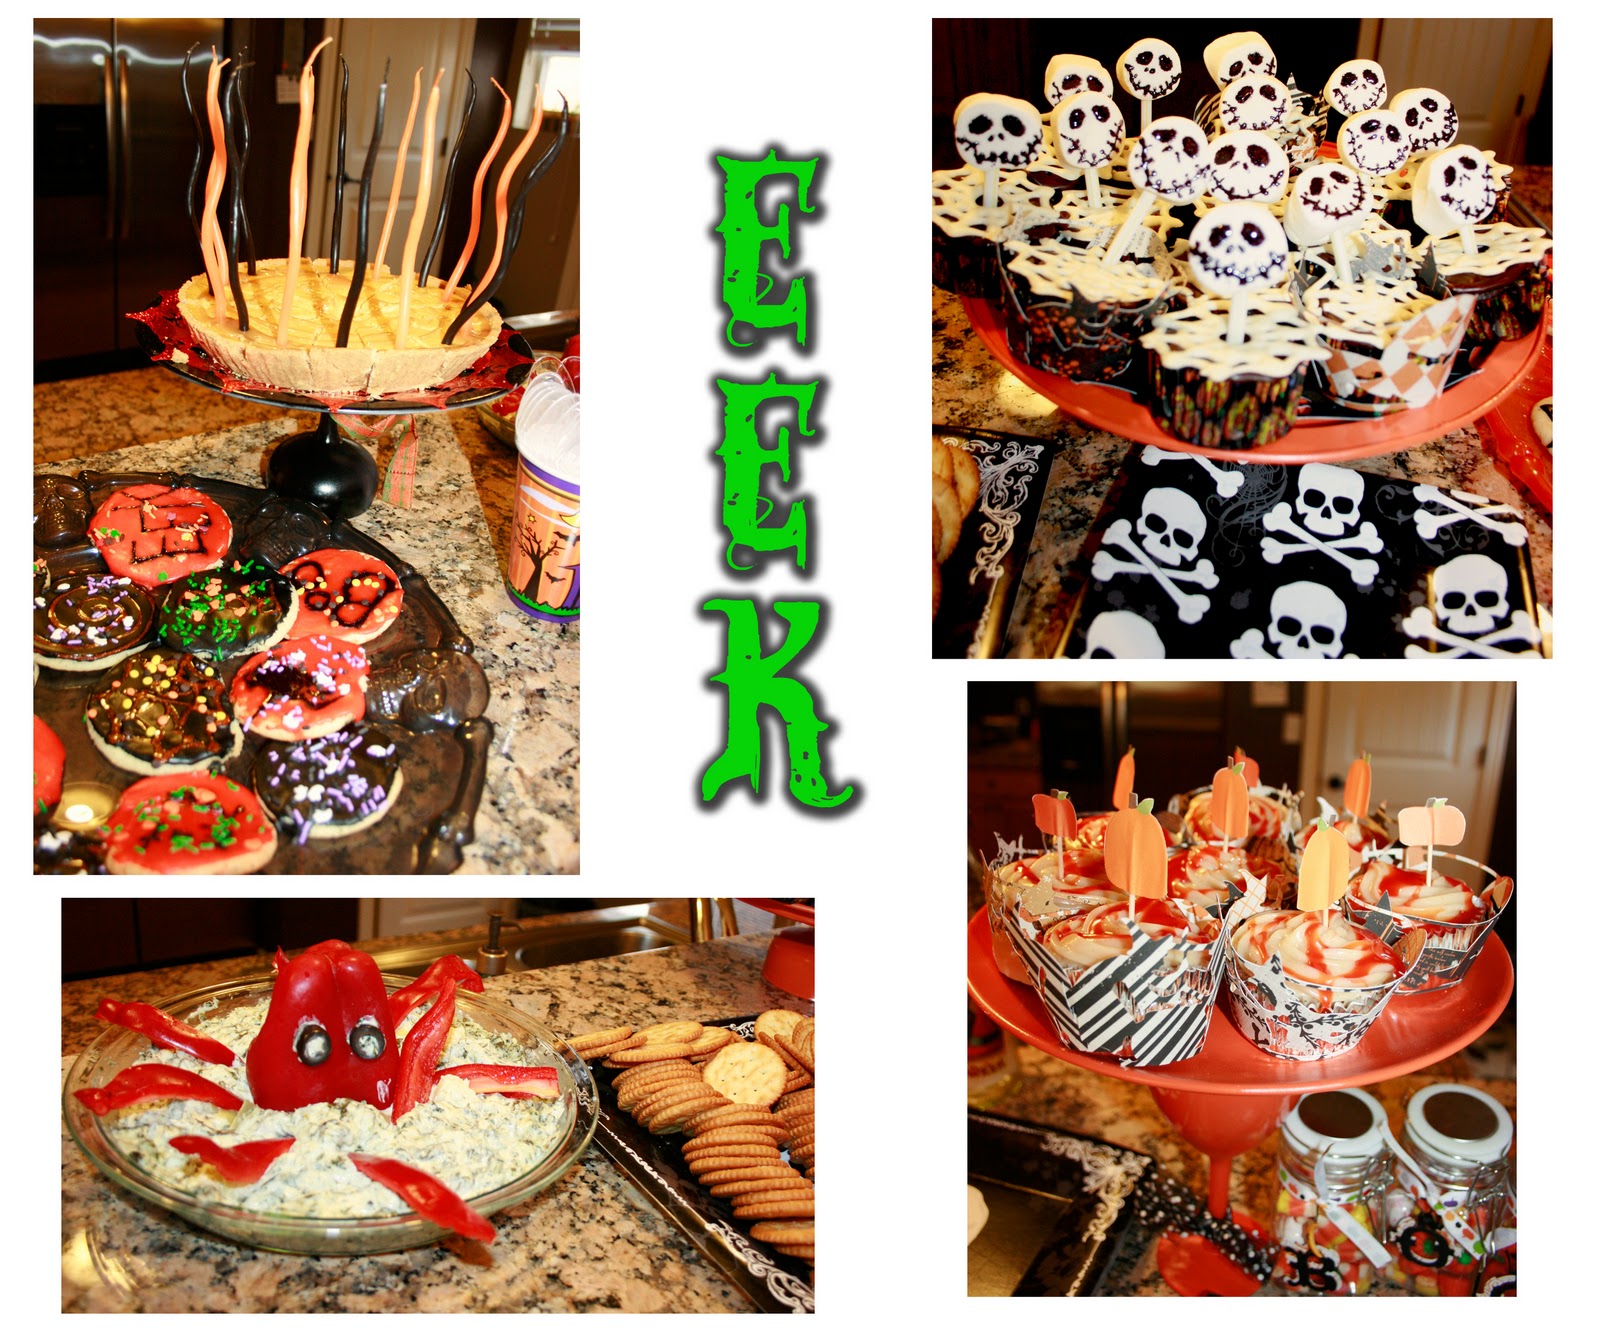
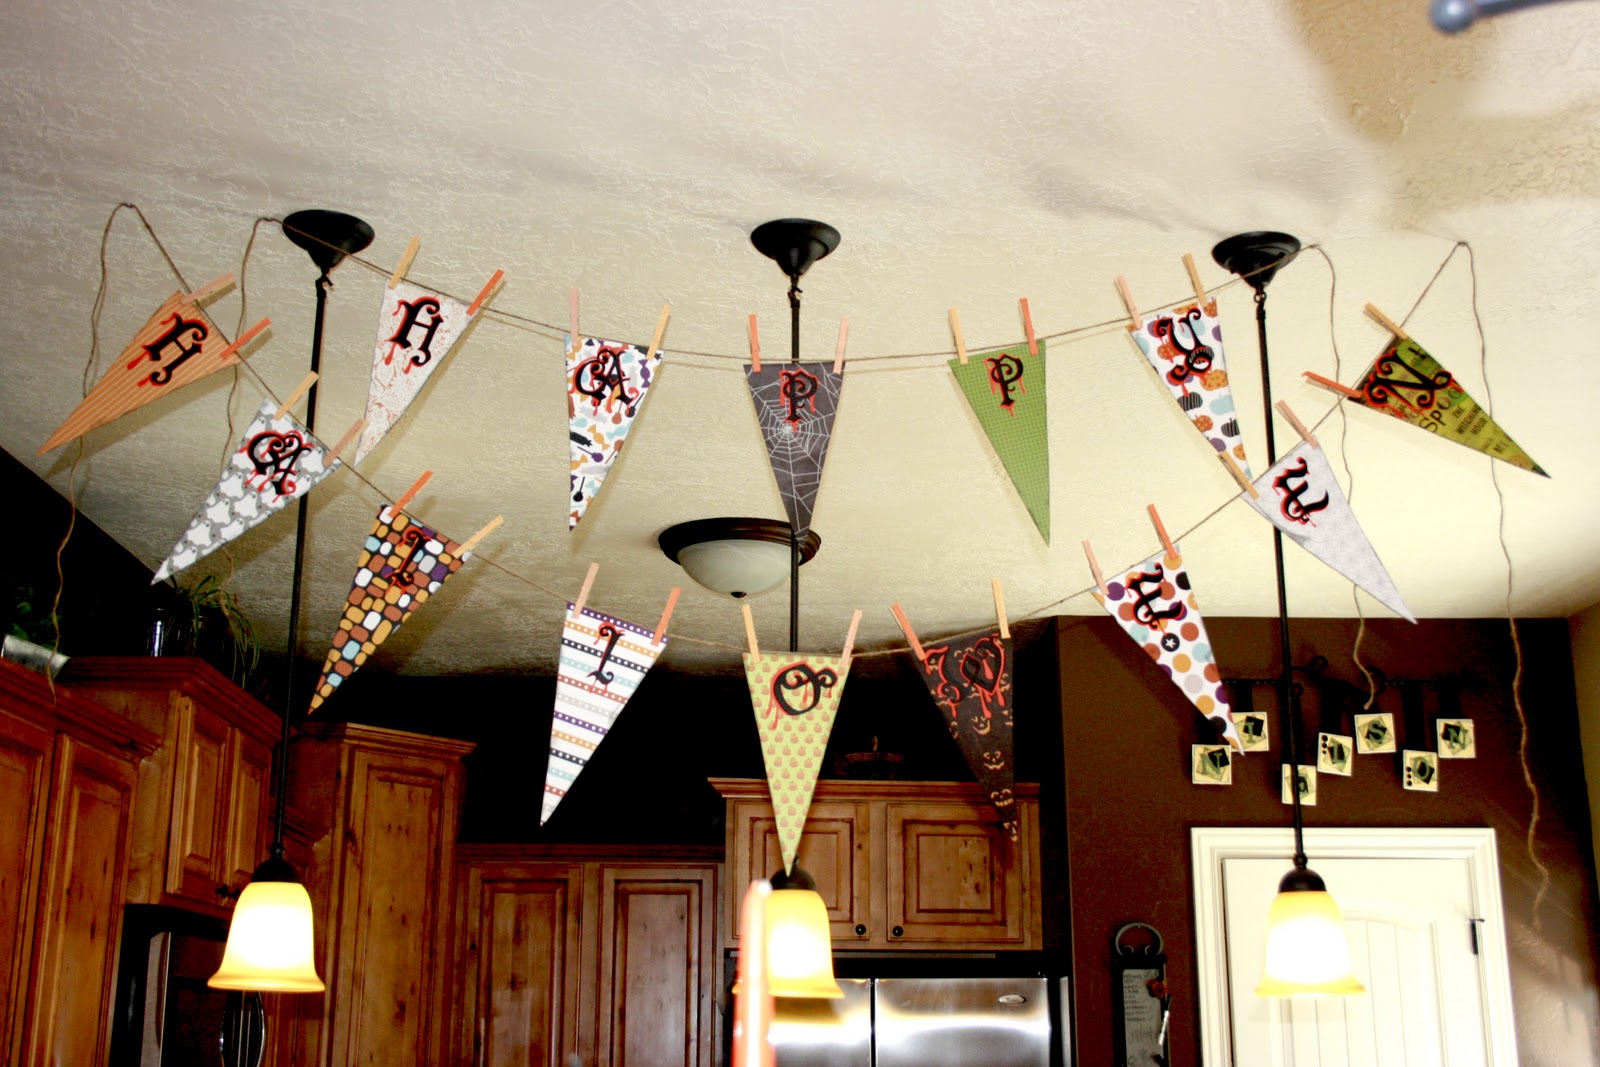
Some of the decor.
My diy cake stands coming to use.
 Added fun labels to soda, dyed halloween shaped ice, made carmel apples with white chocolate,  cinnamon& sugar, & Monster munch. It's sooo good here is the recipe.


Monster Munch {Halloween Popcorn Mix}

Recipe by Our Best Bites

1 package Almond Bark (1 lb)
12 C popped popcorn (about 1/2 C kernals)
1 C candy corn
1 C dry roasted, salted peanuts
1/2 C Reeces Pieces

Pop popcorn and place in a large bowl. Much larger than you think you need. The largest you have. It will make mixing easier! Pour peanuts, candy corn, and reeces pieces on top.


Take a large knife and break up almond bark. Melt according to package directions. I just chop it up a little and microwave it in intervals until smooth and melted.

Pour over popcorn mixture.


Stir until everything is well coated and then spread out onto waxed paper, parchment, or foil. Let sit until completely dry and then break up into clumps.

See? Easy :)
Double layer Pumpkin Cheesecake above Left (recipe found on Allrecipes.com). 
Sooo EASY & so good. I will be making this for Thanksgiving too. 

Ingredients

  • 2 (8 ounce) packages cream cheese, softened
  • 1/2 cup white sugar
  • 1/2 teaspoon vanilla extract
  • 2 eggs
  • 1 (9 inch) prepared graham cracker crust
  • 1/2 cup pumpkin puree
  • 1/2 teaspoon ground cinnamon
  • 1 pinch ground cloves
  • 1 pinch ground nutmeg
  • 1/2 cup frozen whipped topping, thawed


Directions

  1. Preheat oven to 325 degrees F (165 degrees C).
  2. In a large bowl, combine cream cheese, sugar and vanilla. Beat until smooth. Blend in eggs one at a time. Remove 1 cup of batter and spread into bottom of crust; set aside.
  3. Add pumpkin, cinnamon, cloves and nutmeg to the remaining batter and stir gently until well blended. Carefully spread over the batter in the crust.
  4. Bake in preheated oven for 35 to 40 minutes, or until center is almost set. Allow to cool, then refrigerate for 3 hours or overnight. Cover with whipped topping before serving.


Above right Chocolate coconut cupcakes.

I just use a basic chocolate cake recipe & then add coconut creamer instead of milk. 
Bottom right Pumpkin Spice Cupcakes(recipe from allrecipes.com)

Ingredients

  • 2 1/4 cups all-purpose flour
  • 1 teaspoon ground cinnamon
  • 1/2 teaspoon ground nutmeg
  • 1/2 teaspoon ground ginger
  • 1/2 teaspoon ground cloves
  • 1/2 teaspoon ground allspice
  • 1/2 teaspoon salt
  • 1 tablespoon baking powder
  • 1/2 teaspoon baking soda
  • 1/2 cup butter, softened
  • 1 cup white sugar
  • 1/3 cup brown sugar
  • 2 eggs, room temperature
  • 3/4 cup milk
  • 1 cup pumpkin puree
  •  
  • Cinnamon Cream Cheese Frosting
  • 1 (8 ounce) package cream cheese, softened
  • 1/4 cup butter, softened
  • 3 cups confectioners' sugar
  • 1 teaspoon vanilla extract
  • 1 teaspoon ground cinnamon
  • Directions
Preheat an oven to 375 degrees F (190 degrees C). Grease 24 muffin cups, or line with paper muffin liners. Sift together the flour, 1 teaspoon cinnamon, nutmeg, ginger, clove, allspice, salt, baking powder, and baking soda; set aside.
  1. Beat 1/2 cup of butter, the white sugar, and brown sugar with an electric mixer in a large bowl until light and fluffy. The mixture should be noticeably lighter in color. Add the room-temperature eggs one at a time, allowing each egg to blend into the butter mixture before adding the next. Stir in the milk and pumpkin puree after the last egg. Stir in the flour mixture, mixing until just incorporated. Pour the batter into the prepared muffin cups.
  2. Bake in the preheated oven until golden and the tops spring back when lightly pressed, about 25 minutes. Cool in the pans for 5 minutes before removing to cool completely on a wire rack.
  3. While the cupcakes are cooling, make the frosting by beating the cream cheese and 1/4 butter with an electric mixer in a bowl until smooth. Beat in the confectioners' sugar a little at a time until incorporated. Add the vanilla extract and 1 teaspoon ground cinnamon; beat until fluffy. Once the cupcakes are cool, frost with the cream cheese icing. I added carmel dyed orange on top.

 Painted pumpkins & mod podged some images on some.

The crafts we made!


Book pumpkins how to here.
Bottom left is mason jars mod podged with Halloween tissue paper, then I used my Cricut to add Halloween images, except for Frankie, I cut him by hand. Then add a battery powered tea light, ribbon & walla. 


ENJOY 
AND HAPPY HALLOWEEN

Sunday, October 9, 2011

Amazing Things by Amazing Ladies

  I have been very fortunate lately, or maybe just pushy....
I saw some things I wanted & I didn't have the skills to make them so I asked some ladies who do.   
Anyways, I asked some of my lovely friends to make some things for me & they did amazing jobs, so I had to share. Thank you to Megan Parmenter BanksBrittany Parmenter, & Bonnie Leavitt!
YOU LADIES HAVE SOME AMAZING SKILLS!

Meg painted these awesome TOMS like Starry Night  from Vincent van Gogh.
THEY ARE GREAT RIGHT!

I saw a book stamp online very similar to this, but you wrote your name in & it was $45.00! Holy crap right!
Britt works at a stamp place, & she designed this for me. I love it & it was way cheaper.

 I asked Bonnie to make me these coffee cup cozies & gloves! I love them tons.
She can make just about anything, all I did was send her a picture, also all proceeds go to a local animal shelter near her in California. Not only are  you getting warm & cozy for winter, but you are saving lil animals. 


THANKS AGAIN LADIES YOU ARE AMAZING!


Thursday, September 22, 2011

He He He He... witchy crafts with echo park paper

For both projects I used the echo park paper, witch can be purchased at Remember Your Memories
I have been making a bunch of stuff with this paper line, it's the best. :)

 Just painted the edges traced the paper around boot cut out & mod podged it on. Then added extras.
The hat was super easy, the part that took the longest was folding the bottom paper to make the crinkled brim. All the stuff I added was from the dollar store. I had the cardboard hat already, but you can make one out of a cereal box with hot glue, I did last year! 

Have a great day!

Saturday, September 17, 2011

Is it Halloween Yet?

First of Happy Happy Birthday to Aunt Anna! I made her a cake stand, & my chocolate coconut cake(wich looks like crap, but I'm sure is tasty.)
For a DIY on cake stands you can click HERE! They make a great Birthday gift. 


Then here is some MORE Halloween stuff I made this week. 

Halloween Banner. I used the Happy Hauntings cartridge. 


So easy, I painted the edges of my 12x12 wood orange. Mod Poged this great paper on & the added the vinyl saying! Viola!

This spooky wreath was also very easy, just cut circles of card board, or bead board.
I use my kitchen bowls to trace.
Then glue a paper over, or you could paint.
Glue on all sizes eyes.
Add letters saying "I'm Watching You"
I made a tiny hole tied tiny circle in middle to top wreath, then added top ribbon. Done!

Enjoy! Hopefully Halloween will get here before I run out of space for this stuff & it's not even October!