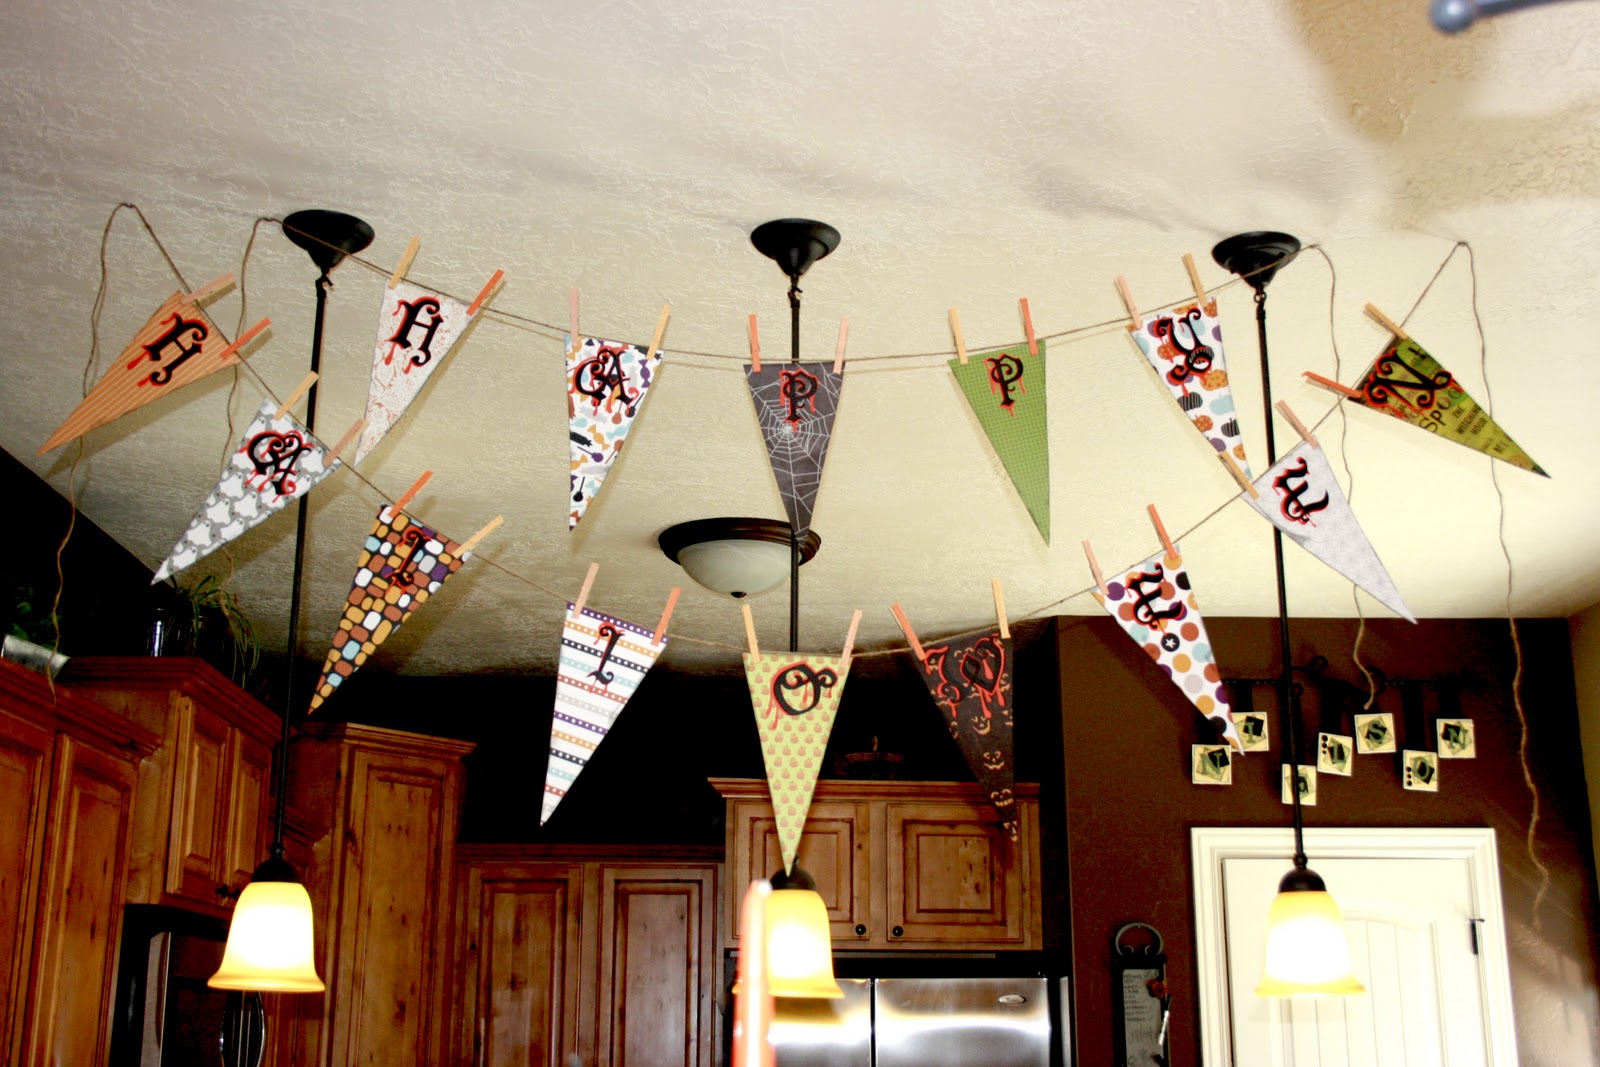
HAPPY WAY EARLY HALLOWEEN!
So I am having a ghouls night out early October. It is going to be a fabulous Halloween craft party, I have been having a ton of fun getting ready, here are a couple of easy things you can make for your Halloween party!
So these cake/treat stands were so easy to make & cheap too, as you probably know cake stands can be way pricey.
Here is what you will need-
Old dishes
Primer
Spray Paint(in the colors you desire)
Waterproof Adhesive(I used Duco Cement, you need something that can be used on glass)
 |
| I bought all of these dishes at my local thrift store & the lovely jar below for $6 amazing right :) |
 |
| I didn't paint this, I dig it just the way it is:) |
Spray paints $3.99 each at local Hardware store, Duco Cement $2.00 at dollar store
So it cost me around $20 to make 5 cake stands. That is great right!!!
First set up an area in your fabulous dirt backyard using a garden hose a
& stakes to hold the garbage bags down. I like to keep it classy.
Then spray the primer your dishes, wait to dry & prime other side.
After that dries separate items & start painting in desired colors.
Let them dry, flip & paint again.
After all the paint dries place a bead of cement around rim of glass & place in middle of plate or tray.
Let them dry for at least an hour.
Then walla, you have fabulous party cake stands.
Please remember to place paper, wax paper, or doilies between food & spray painted items.
Here are a few other fun easy Halloween decorations.
Decoration or Gift Jars
 |
Just save any old jars(in this case a spaghetti sauce jar & bullion cube jar) I printed off a bunch of vintage Halloween pictures from the internet. Cut them out, mod podge on jar, paint, or cover lid with material, add ribbon, fill with Halloween candy. :)
To make the wreath from above, just cover a foam wreath with yarn, cut out diamonds on felt, glue, & cover with black yarn going across them. I want to make one with white yarn in the background. Candy Cornish.
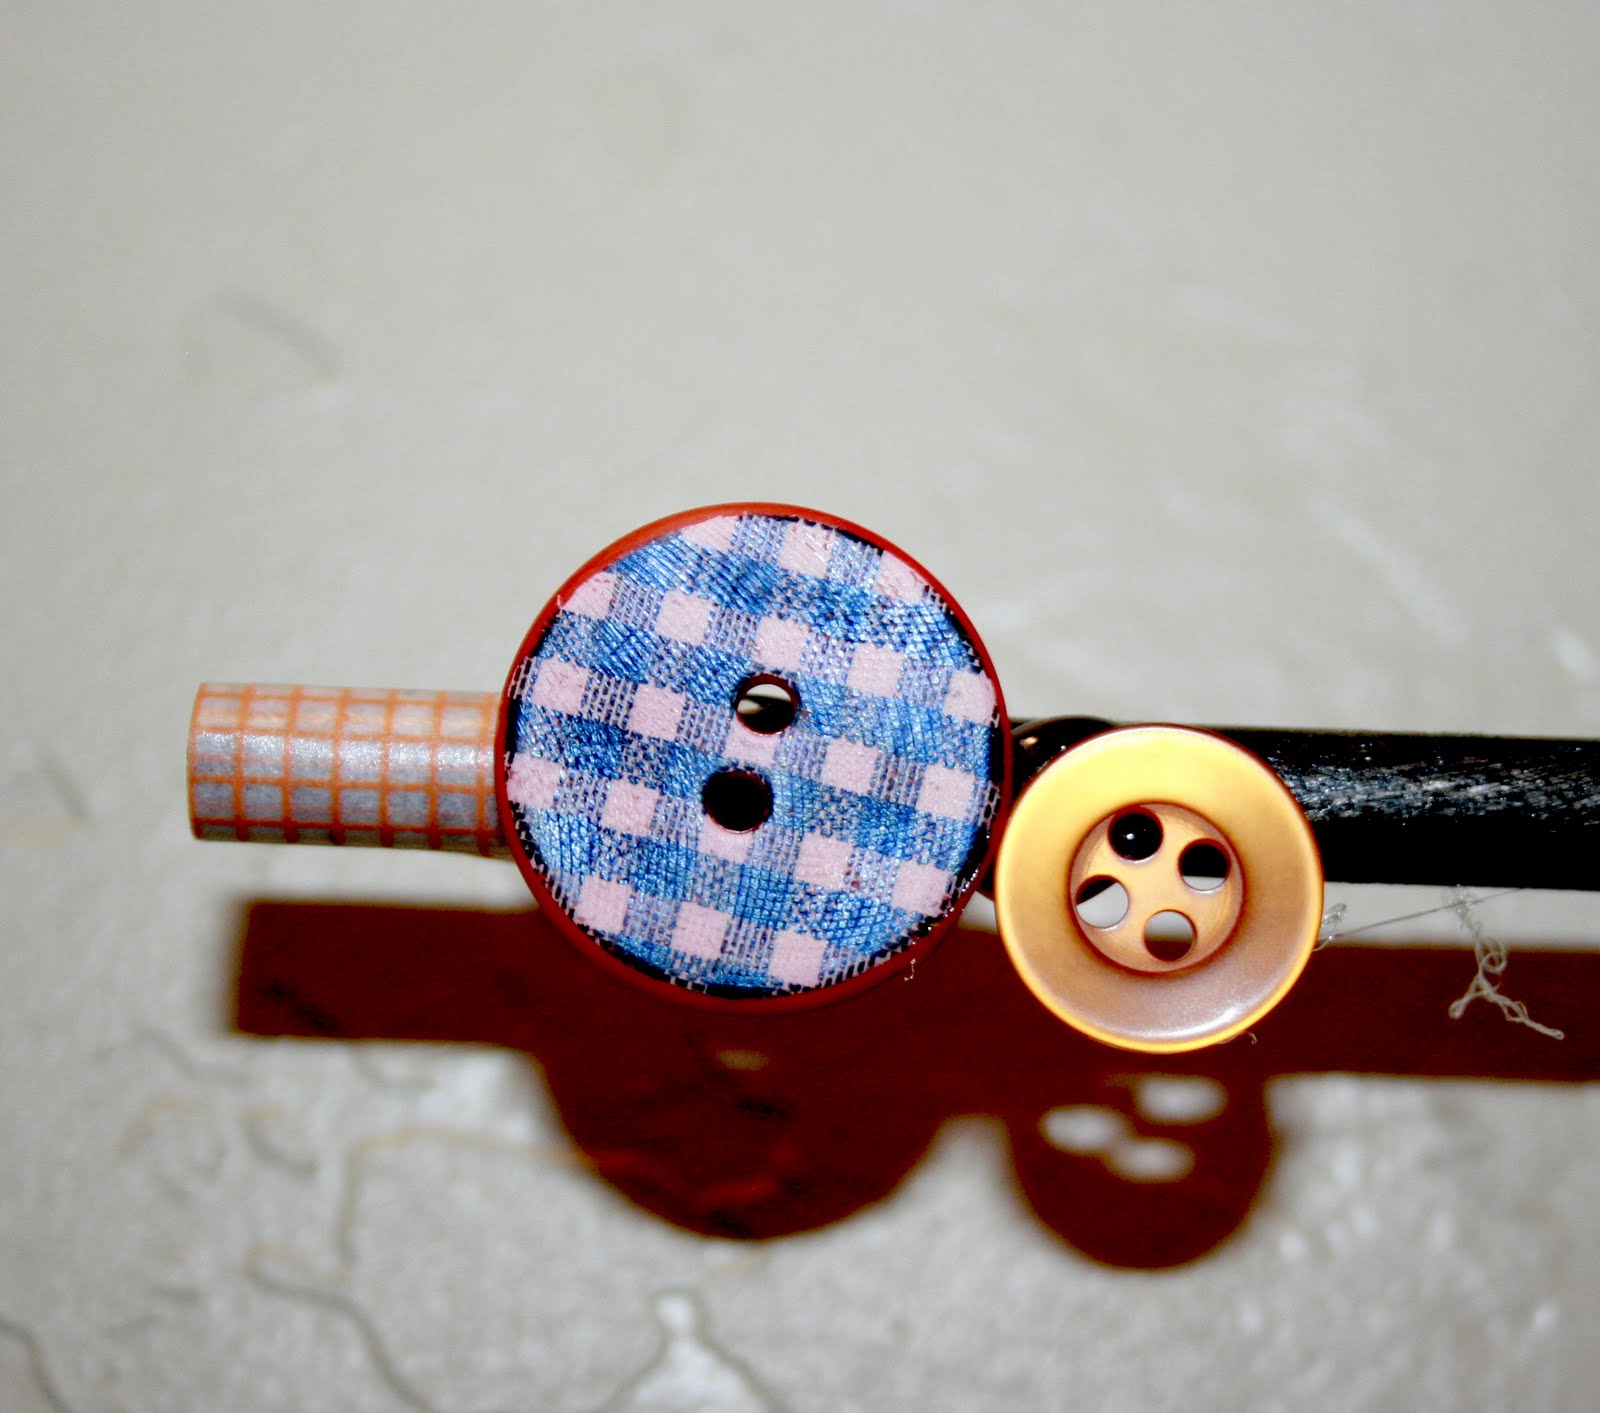
Boo! hanging til-like decoration
There are many variations you could do on this, EEK!, Trick or Treat., you get it.
I used a Dowel for the top witch I painted black, & hot glued some buttons on the ends, I used cardboard instead of tiles. I just cut out the size I wanted, & used Elmer's glue to glue Halloween paper on. Then I added Headstones, Boo!(I used Happy Hauntings Cricut Cartridge) letters, then I tied Hemp cord to dowel, witch I had glued with hot glue on the back of the cardboard ribbon & buttons. Amazingly I already had all this stuff so it cost me nothing, but it would be super cheap to make. I buy almost all my buttons at Buttons Galore and More. They have great prices & a bunch of sales, & that's where I got my Halloween buttons.
These jars were $1 at the dollar store, I just filled with candy added ribbon & letters. :)
HAVE FUN & IF YOU MAKE ANY OF THIS OR OTHER CUTE HALLOWEEN STUFF PLEASE SHARE!
Once my party is here I will be sharing a ton more of fun Halloween stuff! |